Creature Training & Selling Strategy Guide
In Tame Me Hard!, your primary path to clearing your debt is through capturing dungeon creatures, training them to increase their value, and selling them for profit. This guide covers the core training system, strategies for maximizing sell prices, and economic tips to help you pay off what you owe before time runs out.
Understanding the Capture-to-Sale Pipeline
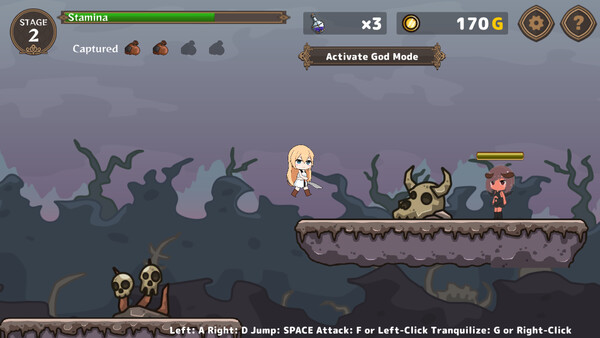
Every creature you bring back from a dungeon starts as raw potential. The fundamental gameplay loop in Tame Me Hard! follows a clear pipeline: venture into a dungeon, fight and weaken creatures, capture them, bring them back to train, and then sell them for gold. Each step in this process matters — rushing to sell an untrained creature means leaving money on the table, but spending too long perfecting one creature wastes precious time on the debt clock.
Different dungeon types yield different categories of creatures, and not all of them are created equal in terms of profit potential. As a general rule, deeper and more dangerous dungeons house rarer creatures that fetch higher base prices. However, the risk-reward tradeoff is real: tougher creatures are harder to capture and you may burn through resources just getting to them. Early on, focus on reliable captures from easier dungeons to build a steady income stream before tackling the higher-tier areas.
Keep an eye on the Quest Board for special subquests that can supplement your income. These quests may request specific creature types or offer bonus rewards, providing an additional revenue source on top of your regular selling operations.
Training Basics and Value Growth
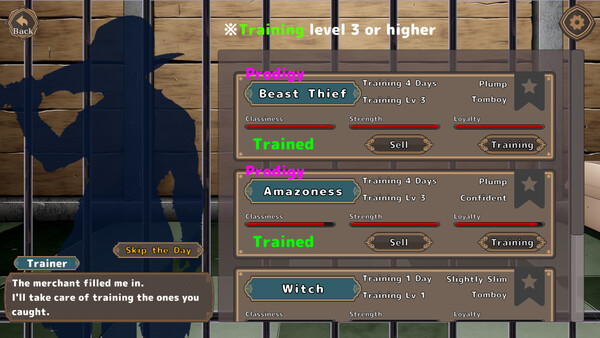
Training is where you transform a modest catch into a high-value sale. Once a creature has been captured and brought back, you can invest time into training it, which directly increases the gold it will sell for. The training process is the core value-add mechanic in the game — a well-trained creature can be worth significantly more than an untrained one of the same species.
Prioritize training creatures that have the highest ceiling for value growth relative to the time investment required. Common creatures from early dungeons train quickly but cap out at lower prices, while rare creatures from advanced dungeons take longer but yield far greater returns. Balancing your training roster between quick-turnaround common creatures and long-term rare investments is key to maintaining consistent cash flow.
The achievement progression from "Newbie Tamer" through "Getting the Hang of It" to "Advanced Trainer" and ultimately "Gotta Train 'Em All...?" reflects the game's expectation that you will steadily master the training system over time. Each milestone represents a deeper understanding of how to handle increasingly difficult creatures.
Dungeon Selection for Maximum Profit
Tame Me Hard! features multiple dungeon types, each with its own roster of creatures and challenges. Choosing which dungeon to run at any given point in your playthrough is one of the most important economic decisions you will make. The game hints at diverse environments through achievements like "Demon Hunter" and "Mages, Out!", suggesting dungeons themed around demons, magical creatures, and more.
When planning dungeon runs, consider the ratio of time spent exploring versus the total sellable value of creatures you can bring back. A quick run through a familiar dungeon where you know exactly which creatures to target can be more profitable per minute than a slow crawl through uncharted territory. Once you have memorized a dungeon's layout and creature spawn patterns, you can optimize your routes to grab high-value targets efficiently.
Do not neglect variety, however. Different creature types appeal to the market in different ways, and spreading your captures across dungeon types ensures you are never stuck with a surplus of one creature category that may not sell as well in bulk.
Debt Repayment Timeline and Economic Planning
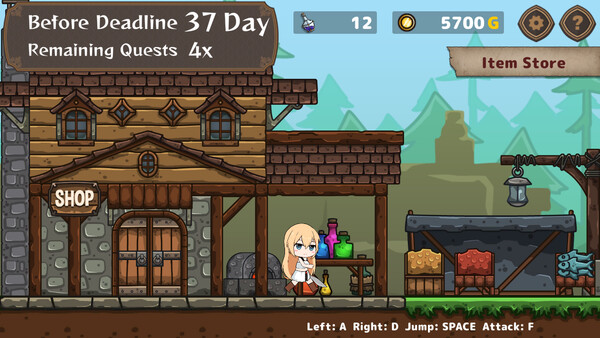
The ever-present time limit is what separates Tame Me Hard! from a leisurely creature-collecting experience. Your debt must be cleared before the deadline, which means every dungeon run, training session, and sale needs to contribute toward that goal. Wasting entire in-game days on fruitless expeditions or poorly planned training schedules can put you behind in ways that are difficult to recover from.
A sound economic strategy involves setting daily gold targets and adjusting your approach if you fall behind. In the early game, focus on volume — capture and sell many common creatures to build a financial foundation. As you unlock access to more challenging dungeons and develop your training skills, shift toward quality over quantity. A single rare, fully trained creature from a late-game dungeon can be worth more than an entire batch of common ones.
Remember that the "Broke!" achievement exists as a cautionary milestone. If you find yourself struggling financially, revisit easier dungeons for guaranteed captures, check the Quest Board for lucrative subquests, and make sure you are not sitting on a backlog of untrained creatures that could be generating income.
Advanced Selling Tips
Once you have the basics down, there are several ways to squeeze extra gold out of your operation. First, always fully train a creature before selling unless you are in a cash emergency. The time-to-value ratio almost always favors completing the training process. Second, pay attention to which creature types the game's economy rewards most — rare species from specialized dungeon types tend to command premium prices.
Efficiency is the name of the game when the debt clock is ticking. Batch your activities whenever possible: capture multiple creatures in a single dungeon run, train several at once between expeditions, and sell in bulk rather than making individual trips. Every moment spent on logistics is a moment not spent earning gold.
Finally, do not overlook the value of upgrading your equipment and capture tools. Better gear lets you take on harder dungeons sooner, survive longer in dangerous environments, and capture creatures more reliably. These upgrades pay for themselves quickly by opening up access to higher-value creatures and reducing the number of failed capture attempts that waste your limited time.